

Pool swimming and ocean swimming are not the same sport. The mechanics are similar, but the environment is not. Lane lines, consistent depth, controlled temperature, and clear water are replaced by swell, current, chop, variable visibility, marine life, and watercraft. Swimmers who move from pool to open water without adjusting their preparation take on risks they often do not see coming.
This guide covers what you need to assess, plan, and manage before and during every open-water session. It applies whether you are swimming your first ocean lap or returning to the water after years in the pool.
Understanding Conditions Before You Enter
Conditions determine safety more than fitness. A strong swimmer in the wrong conditions is still a swimmer in danger. Before you enter, assess what the water is doing and what it is likely to do during your session.
Surf conditions: check swell height, wave period, and direction. A long-period swell carries more energy than a short-period chop of the same height. Know the difference before you commit to an entry.
Tides and tidal flow: tides affect current direction, depth over reefs and rocks, and the safety of your exit. A beach that looks straightforward at high tide can expose hazards at low tide. Check the tide chart before you go.
Wind direction and surface chop: onshore wind pushes surface debris, including bluebottles, toward the beach and into your swim line. It also builds chop quickly, making sighting harder and breathing more difficult.
Water temperature: even in Australian waters, temperature varies significantly by season and location. Cold water affects breathing, coordination, and judgement faster than most swimmers expect.
River mouths and outflow areas: these areas carry unpredictable current, reduced visibility from sediment, and in some locations, increased risk from marine life. Treat them as separate conditions, each requiring its own assessment.
Local hazards : rocks, reefs, shallow sandbars, and fixed structures all require local knowledge. If you do not know a beach, ask someone who does before you swim there.
Bluebottles: Read the Shore Before You Read the Water
Bluebottles are among the most common hazards for Australian open-water swimmers and among the easiest to miss in the water. In chop or glare, the distinctive blue float and trailing tentacles are difficult to spot until you are already in contact. The sting is immediate and can be severe, with tentacles wrapping around exposed skin and delivering a burning pain that ends the session.
The most reliable indicator is not the water surface. It is the shoreline.
Before you enter, scan the high tide line on the sand. Washed-up bluebottles tell you they are in the water, whether you can currently see them or not. A recent wash-up from the previous morning is still a warning. Conditions can push a new batch in quickly, and a dried or dead bluebottle on the sand still carries active nematocysts that cause skin irritation on contact.
Beach patrol uses the same method. Beware of bluebottles signage goes up based on what appears on the shore, not only what is visible in the water. If signs were posted the previous day, treat the water as still affected until the shoreline is clear.
Onshore wind is the condition that drives bluebottles toward the beach. If the wind is blowing onshore and you see any sign of them on the sand, postpone the session or choose a protected location.
If stung, leave the water immediately. Remove tentacles by lifting them clear without rubbing; rubbing spreads the venom cells across the skin. Rinse with warm water, not cold. Seek medical attention if the sting is extensive or if the swimmer shows signs of an allergic reaction.
Eye contact with a tentacle is a serious injury. Goggles provide a direct layer of protection here. A secure, well-fitting goggle seal keeps tentacles away from the eyes.
Swimming Alone vs Swimming With Others
Solo open-water swimming is practised by experienced swimmers, but it carries a risk that group swimming does not. If something goes wrong in open water, the response time from shore depends entirely on whether someone on the beach notices and acts.
Swimming with a buddy or a group means someone knows your position at all times. It means a faster response if you cramp, panic, or get caught in a current. It also means shared local knowledge about the conditions at that beach on that day.
If you swim solo, tell someone your planned route, your expected entry and exit points, and how long you expect to be in the water. Agree on a time to raise the alarm if you have not returned. This is not overcaution. It is the practice that experienced open-water swimmers follow regardless of fitness level.
Local swim clubs and organised open-water groups are worth finding for anyone new to ocean swimming. The knowledge that transfers in those environments, about specific beaches, current patterns, and seasonal conditions, is not available in any guide.
Entry and Exit Planning
Choose your exit before you choose your entry. Conditions change during a swim. A beach that was calm when you entered may have more surf by the time you return. Identify at least one alternative exit before you start.
Surf entries require timing. Watch several sets before you enter. Identify the lull between sets and use it. Wade in to waist depth before attempting to swim, and keep moving forward through the break zone rather than pausing in the impact zone.
Calm-water entries are more straightforward, but tidal flow still requires attention. A gentle current on entry becomes a significant current over a long session. Know which direction it is running and plan your swim line to account for it.
Changing tides affect exits directly. A rock shelf that was covered on entry may be exposed on exit, and vice versa. Build this into your planning before you enter.
If your planned exit becomes unsafe during the swim, do not force it. Reassess from the water, identify the safest available option, and signal to shore if you need assistance.
The Physiology of the Transition: Cold Shock and Breathing
Pool swimmers underestimate the impact of sudden environmental change. Even in mild Australian waters, the initial plunge triggers a cold shock response. The body reacts with an involuntary gasp followed by hyperventilation. Heart rate spikes. Breath control becomes difficult precisely when breath control matters most.
This response is not a sign of poor fitness. It is physiology. Knowing it is coming lets you manage it.
Before your first stroke, enter to waist height. Splash water on your face and across your chest. Let the body begin adjusting to the temperature before full immersion. Then submerge and practise controlled, forced exhalations underwater. This calms the breathing response and prepares the body for the first lap.
A leaking or poorly fitting goggle breaks concentration at exactly this moment. If you are managing a flooded goggle while also managing breath control after a cold entry, anxiety builds quickly. A reliable seal removes one variable from a moment that already has several.
Acclimatisation takes time across the season as well. The first cold swim of autumn will feel harder than the same swim in mid-winter once the body has adjusted. Do not measure your response against your summer baseline.
Navigation and Sighting: Crocodile Eyes
Without lane lines, most pool swimmers discover they swim in a curve. The dominant arm pulls the body off course over distance. In a 50-metre pool, this is invisible. Across an open-water course, it adds hundreds of metres to the session and drains the energy you need for the return.
Sighting corrects this, but poor sighting technique creates its own problem. Lifting the head fully out of the water drops the hips, increases drag, and disrupts stroke rhythm. Done frequently, it costs more energy than the navigation saves.
The technique that works is the crocodile eyes technique. During the catch phase of the stroke, lift the goggles just high enough to clear the water surface. Scan the horizon quickly for your landmark or buoy. Then roll the head to the side as you normally would to breathe. The movement is minimal, the body position stays horizontal, and the stroke rhythm is not broken.
Sight every six to ten strokes in open water. In swell or chop, you may need to sight more frequently because your landmark disappears behind wave faces. Use fixed landmarks on shore rather than floating buoys where possible. A headland, a building, or a flag stays where it is. A buoy moves.
Lens choice affects sighting directly. In early morning conditions with low sun and surface glare, a clear or lightly tinted lens performs better than a dark mirror lens. In full overhead sun, a mirror lens reduces the glare that makes horizon scanning difficult. Matching the lens to the light is a practical sighting decision, not a preference.
Visibility: Being Seen as Well as Seeing
A human head at water level is difficult to spot from shore, and harder still from a boat or jet ski at speed. In surf, chop, or low light, a dark cap against a dark ocean is effectively invisible to anyone looking from above the water line.
Visibility works in both directions. You need to see where you are going. Others need to see you.
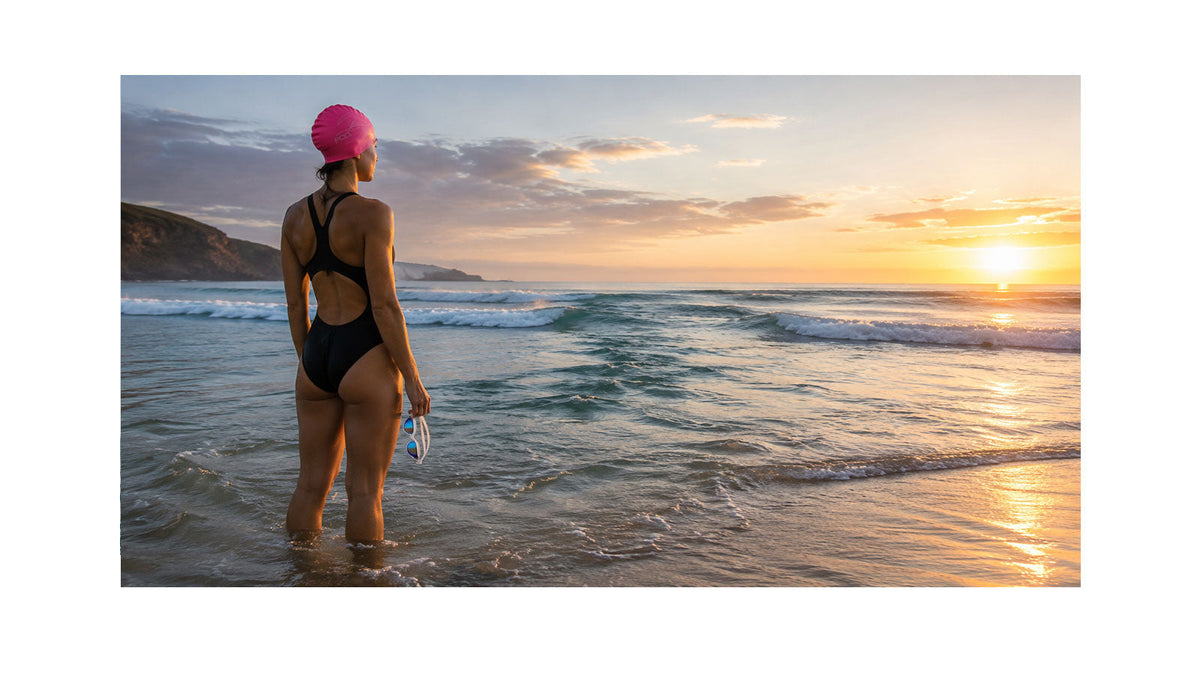
Cap colour is the most direct control you have over your visibility from shore and from watercraft. Fluorescent orange, bright pink, and lime green create contrast against the green, blue, and white foam of the ocean. Dark colours, navy, black, and most standard blue shades, do not. Choose the cap colour for the water you are swimming in, not for appearance.
Silicone caps hold their position better than latex in surf conditions. They are also thicker, which provides some thermal retention through the head during longer sessions in cooler water.
In locations shared with recreational boats, kayaks, paddle boards, and fishing vessels, stay aware of boating channels and avoid blind spots around vessel hulls. If you are swimming in low light conditions, a tow float in a bright colour increases visibility without affecting your stroke.
Surf lifesavers scan from shore looking for contrast against the water. Give them something to find.
Rip Current Awareness
Rip currents cause more surf rescues in Australia than any other single factor. They are not rare conditions. They are a standard feature of most surf beaches, even when the surf appears small.
A rip forms where water pushed onto the beach by breaking waves finds a path back out to sea. It takes the line of least resistance, typically through a gap in a sandbar or alongside a headland or rock structure. The water in a rip moves quickly and with force. Attempting to swim directly against it is exhausting and usually unsuccessful.
Learning to identify a rip before you enter is the most useful skill an open-water swimmer can develop.
Look for:
- A channel of darker, calmer water between areas of breaking white water
- A brown or discoloured strip of water carrying sand or debris offshore
- A line of foam or surface texture moving consistently away from the beach
- An area where waves appear not to break when they break clearly on either side
If you enter a rip or are pulled into one, do not fight it directly. Stay calm and preserve energy. Swim parallel to the shore, across the current rather than against it, until you are clear of the rip channel. Most rips dissipate beyond the break zone. Once clear, swim back to shore at an angle, using the broken water to assist you.
Experienced swimmers use rip channels deliberately to move offshore quickly and conserve energy on the outward leg. This is a learned skill that requires familiarity with the beach. It is not a technique for unfamiliar locations.
If you are tired, signal for help immediately. Float on your back to conserve energy and make yourself visible. Waving one arm is the universal signal for distress in Australian surf.
Sun Exposure and UV
Open-water sessions run longer than pool sessions and are often held in full overhead sun with no shade, with reflected UV off the water surface. UV exposure during a two-hour ocean swim is significant and cumulative over the course of a season.
A rash shirt is the most effective protection for the upper body. It eliminates the need to apply sunscreen to the back and shoulders, reduces drag compared with applying and reapplying cream, and provides consistent coverage throughout the session.
For the eyes, choose goggles with UV-rated lenses. Every AquaLuxe lens, from clear to mirror, carries UV380 protection built into the lens material. In bright sun and on the water, this matters. UV reflected off a flat ocean surface reaches the eye from both below and above the lens. A well-sealed goggle with appropriate UV-rated lens protection addresses both.
Apply sunscreen to all exposed skin before entering. Reef-safe formulas are worth choosing for ocean swimming because of their lower impact on marine environments.
Goggles for Open Water
Most goggle problems in open water start before you reach the beach. Swim in a new pair at the pool or in calm water first. Race day is the wrong time to find out a seal doesn't suit your face. The suction test in How to Choose Swim Goggles for Your Face Shape takes ten seconds and tells you before the water does.
Surf adds impact the pool never does. A wave, a duck dive or another swimmer's arm at a mass start can knock goggles loose. A snug, even seal holds better than a tight strap, and a second cap over the strap keeps the goggles in place when contact comes.
Salt and sunscreen are hard on anti-fog coatings. Keep sunscreen off the lenses, never wipe the inside, and rinse in fresh water after the swim. Dry the goggles in a ventilated case rather than a sealed bag. Why Your Swim Goggles Keep Fogging Up covers the rest.
Open-Water Swimming Equipment: Purpose First
Each item in the list below serves a specific function. The question is not whether to carry equipment, but whether you understand what it contributes and why it matters specifically in open water.
- Swim cap: visibility from shore and watercraft, thermal retention in cooler water, drag reduction. Colour matters. Choose for visibility.
- Goggles: eye protection, vision clarity, UV380 protection across the full lens range. Fit and seal reliability matter more in surf than in the pool. A goggle that fits well in flat water may flood on impact with a wave if the seal is not secure.
- Spare goggles: a strap snap or lens crack ends a session without a spare. In a race or a long crossing, this is not optional.
- Ear plugs: prolonged exposure to cold water in the ear canal contributes to surfer's ear, abnormal bone growth that reduces hearing over time. Earplugs prevent water entry and reduce this risk.
- Swim fins: increase propulsion from the same leg effort, useful for open-water training, bodysurfing, and managing current. Match the fin to the activity.
- Tow float - visibility to watercraft and shore support, an emergency flotation aid if needed. Does not affect stroke.
- Rash shirt: UV protection for the full session without reapplication. Reduces contact with jellyfish and bluebottles on the torso.
- Wetsuit: thermal protection in cold water, buoyancy assistance, and a physical barrier against marine contact. Required in some locations and conditions, optional in others.
- Warm clothing for after: core temperature drops after exiting cold water. Having dry warm layers immediately available reduces this. Do not underestimate it after a long session.
What to Do If Something Goes Wrong
Preparation reduces risk. It does not eliminate it. Knowing how to respond when something goes wrong is as important as knowing how to prevent it.
Cramp: stop swimming immediately. Float on your back and stretch the affected muscle. Calf cramp responds to pulling the toes toward the shin. Do not attempt to push through a cramp in open water.
Panic: roll onto your back. You float. Controlled breathing from a back float position resets the panic response faster than attempting to tread water or continue swimming. Once breathing is under control, reassess.
Fatigue: slow down before you stop. Reduce effort and reassess your position relative to shore. Signal for help early. Waiting until exhaustion sets in significantly reduces your options.
Disorientation: stop and sight. Find a fixed landmark on shore and reorient before continuing. In swell, rise with the water to get a clear view of the horizon before selecting your new line.
Lost or flooded goggles: stay calm. Most open-water courses can be completed without goggles if necessary. Revert to breaststroke to maintain sighting without submerging the face, and make your way to shore or support.
Unexpected current: do not fight it directly. Identify the current direction and swim at an angle across it toward shore. Conserve energy and signal for help if you are not making progress.
Transitioning From Pool to Open Water
Pool swimming builds fitness, stroke mechanics, and breathing rhythm. It does not build the skills specific to open water. Swimmers who cross over often find the first few sessions harder than expected, not because their fitness has dropped but because the environment demands different responses.
The absence of lane lines removes the visual reference that keeps most pool swimmers straight. The first open-water session usually involves more sighting than feels natural and more course correction than expected. This normalises quickly.
Water movement changes breathing timing. In the pool, the water beside you is still. In open water, a wave face or chop can cover your breathing side just as you turn to breathe. Bilateral breathing, alternating sides, gives you more options when one side is blocked by water.
Pacing is different. Pool pacing relies on the wall. Open water has no wall, no push-off, and no consistent rest point. Start slower than you think you need to. The return leg in open water is almost always harder than the outward leg.
Mental adjustment is real. Open water below you with no visible bottom affects some swimmers significantly, even experienced ones. Acknowledging this in advance reduces the impact. It is a normal response to an unfamiliar environment, not a signal to leave the water.
Environmental Respect: Protect the Water You Swim In
Open-water swimmers spend more time in the ocean than most people who visit it. That contact carries responsibility.
Leave nothing behind at entry or exit points. Sunscreen, packaging, and single-use plastics all enter the water. Reef-safe sunscreen reduces chemical impact on marine environments. Reusable gear reduces what ends up on the beach.
Give marine life space. Dolphins, rays, turtles, and seals are part of the environment you are entering. Approaching, touching, or following them disrupts their behaviour and, in some species, causes lasting stress. Observe and move on.
Avoid sensitive habitats. Seagrass beds, shallow reef systems, and nesting areas along the shore are easily damaged by foot traffic at entry and exit. Where alternatives exist, use them.
The ocean performs best when it is left intact. Every swimmer who respects that contributes to the conditions that make open-water swimming worth doing.
The Water Rewards Preparation
Open-water swimming is one of the most demanding and most rewarding environments a swimmer can enter. The conditions change. The risks are real. The preparation required is specific and not optional.
Read the shore before you read the water. Swim with someone who knows the beach. Understand what the current is doing before you commit to an entry. Carry equipment that functions under pressure, not just in calm conditions. Know how to respond when things do not go according to plan.
None of this limits the experience. It is what makes the experience possible.
Share:
How to Choose a Handboard Based on Conditions and Style