


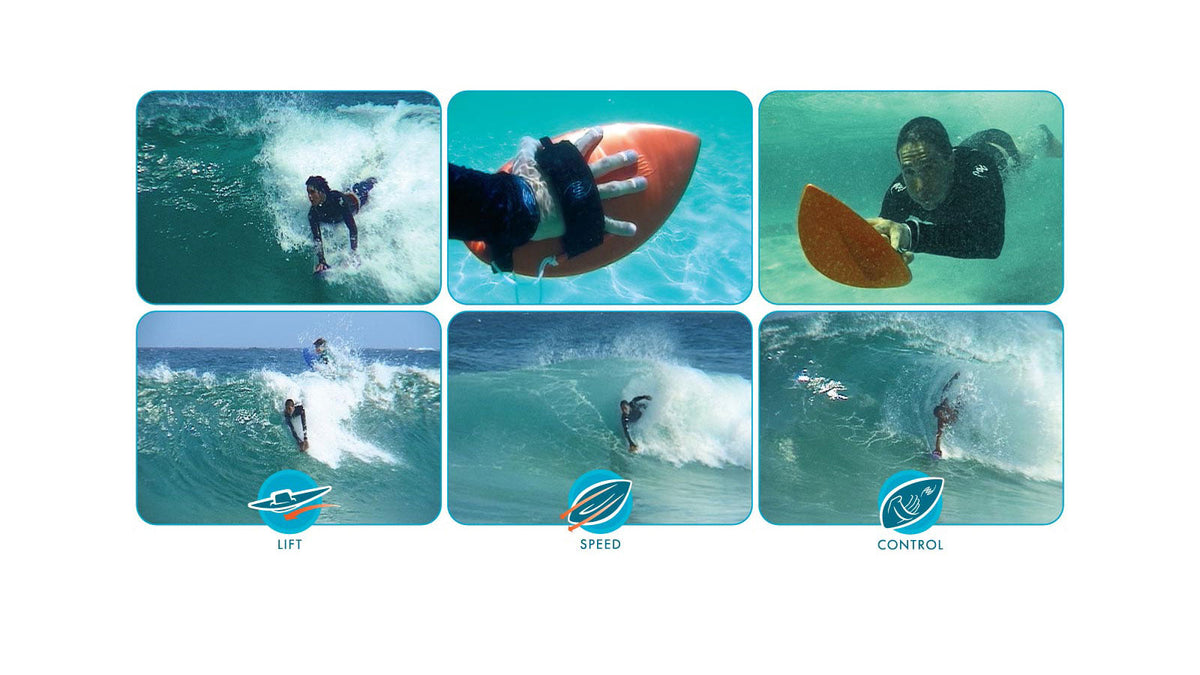
POD makes handboards in polypropylene, cedar and walnut, and polyurethane. Each carries the same signature shape. The concave bottom channels water across the hull as the board accelerates across the wave face, generating upward lift that raises the rider higher in the water. The keel fin holds directional line, preventing the board from sliding sideways under lateral wave pressure. Understanding how the board works mechanically makes the three-step technique easier to apply and repeat consistently across different conditions.
This article covers hand position, duck diving, swimming out, and the three-step Lift, Speed, and Control framework for riding waves with a POD bodysurfing handboard. For help choosing the right handboard size and shape for your conditions, read Bodysurfing Handboard Guide - Size, Shape, and How to Choose.
Hand Position
Place your hand on the handboard in the natural swimming position and strap it on firmly. Point your fingers toward the POD logo while keeping your thumb on the outside of the strap.
Once the strap is over your hand, adjust the fit before entering the water. For ongoing use, slide your hand between the handboard strap and the neoprene deck-grip palm pad instead of opening and closing the strap each time. This keeps the Velcro attachment intact across repeated sessions and maintains a secure, comfortable hold on the board.
Which Hand to Use
Start on your dominant hand. If you're right-handed, that suits a wave breaking to your right, and you can still ride a left on the same hand. Some riders choose to lead with the hand that matches the wave and switch back to their dominant hand later. POD founder Shane Vassallo rides on his dominant hand, no matter which direction the wave breaks.
There's no set rule. Bodysurfing is personal, and two riders on the same wave will often ride it differently. Different hand positions change how your body angles across the wave face and affect your natural trim line.
Left-Handed Bodysurfers
If you are left-handed, change the wrist cord to the left side of the hand strap bridge using the allocated wrist cord hole. You can remove and reassemble the hand strap on the opposite side, making the board fully functional for left-handed bodysurfers without modifying the board itself.
Beneath the Wave - Duck Diving and Swimming Out
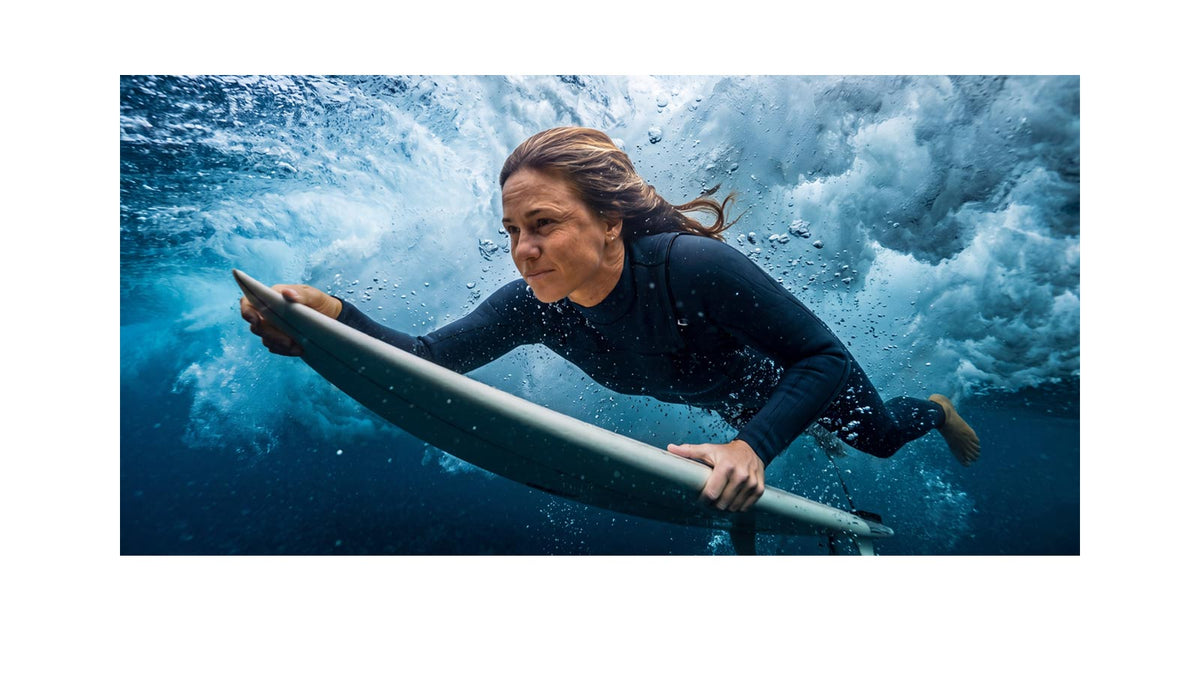
When duck diving under a wave, hold the POD handboard with both hands, the handboard in front of or beneath you and drive through the base of the wave. The same principle applies when a surfer ducks under a wave with a surfboard or a bodyboarder with a bodyboard.
When swimming out to the break, keep the top half of your body out of the water and use the edge of the handboard to cut through the water's surface. Stroke the handboard toward your chest first, not out to the side, before completing the natural swimming stroke to the side. Stroking to the side first unbalances the stroke and reduces forward momentum through the water.
When catching a wave, plane the handboard across the water surface and lift your body out of the water as quickly as your position allows. The faster your body clears the water surface, the less drag the wave has to work against.
The Three Steps - Lift, Speed, and Control
The core principle of bodysurfing with a handboard is that lift generates speed and speed enables control. The quicker the body clears the water surface, the less drag acts against forward momentum, and the faster the rider travels across the wave face. Every adjustment in the three steps below is intended to achieve and maintain that lifted position.
Step 1 - Lift
Three methods generate the initial lift needed to clear the body from the water surface.
- Push-up lift: Direct downward pressure through both palms onto the handboard drives the board into the water surface and raises the upper body clear of the wave. The faster and more forcefully this is applied at the moment the wave lifts the rider, the more lift is generated before drag can act against it
- Reverse spin lift: Swim with the wave moving in the same direction. Once the wave picks up the rider, rotate the torso 180 degrees toward the wave face. The rotation raises the body to one side out of the water to waist height, and the downward pressure created by the rotation drives the handboard deeper into the wave face, generating additional lift and speed across the wave
- Dolphin takeoff: The most technically demanding of the three methods. As the wave is about to break, submerge to the sandbank or reef below, drive off the bottom with the swim fins, and direct the handboard and body up through the wall of the wave as it pitches. Timed correctly, the rider emerges through the wave face already positioned on the open face with significant forward momentum.
Step 2 - Speed
- Rotate the torso: Once lifted, rotate the body to face the wave face and move the trailing hand behind the back. This rotation sets the trim line across the wave face and removes the trailing arm as a source of drag through the water
- Maintain downward pressure: Sustained downward pressure through the palm on the handboard holds the board against the wave face and continues to generate lift throughout the ride. Releasing pressure at this stage lets the board rise off the wave face, and the rider lose position.
Step 3 - Control
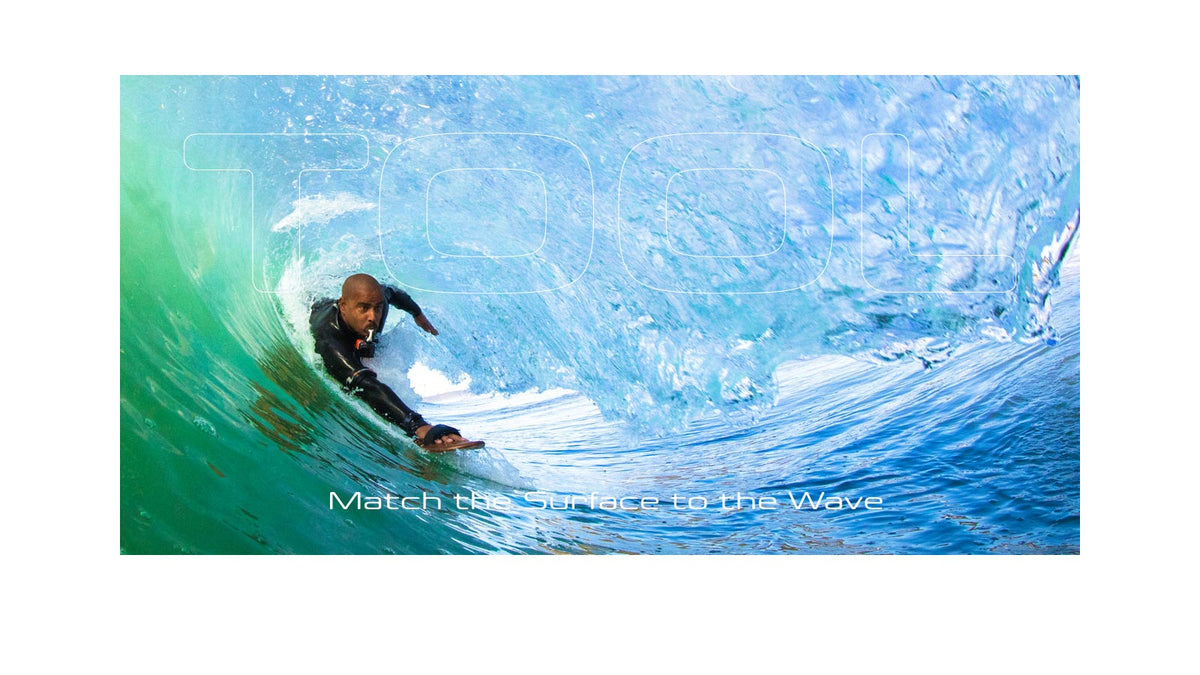
With the body raised and the trim line set, control comes from adjusting the handboard's angle and rail engagement relative to the wave face.
- To slow and hold position in the barrel: Apply downward pressure through the tail of the board or tilt the board's trailing edge back toward the wave face. This increases drag against the wave and stalls forward speed, holding the rider in the barrel as the wave pitches over
- To increase speed across a flat section: Tilt the nose of the handboard forward, flattening the board's angle to the water surface. This reduces the board's resistance against the wave and increases projection across open or fading sections
- To hold position on a steep wave face: Bring the trailing hand across to grip the outside rail of the handboard and lift the board slightly toward one side of the concave bottom. Using half the concave surface increases the rail's bite into the wave face and improves wave-holding on steep or hollow sections, where the full concave would allow the board to slide
- To exit the wave: Direct the nose of the handboard into the wave face and drive back through the wall into deeper water. This disengages the board from the wave face and returns the rider to the water behind the break.
After Your Session
Rinse the board with fresh water after each session. Check the strap and hardware for salt buildup or wear. Store timber boards in a cool, dry place away from direct sun. Do not leave any handboard in a hot car.
For ongoing care and maintenance specific to each model, refer to your board's product page.
Three Steps. Every Wave.
Lift, Speed, and Control are the mechanical sequence every ride on a POD handboard follows, from the moment the wave lifts the rider to the moment the ride ends. Each step builds on the last. Lift clears the body from the water. Speed sets the trim line across the wave face. Control holds the position and adjusts it as the wave changes shape beneath the rider.
When swimming back out after a ride, return to the duck diving position - both hands on the handboard, board in front of or beneath you, downward pressure maintained through the palms. The same mechanical principle that drives the board through the wave on the way in protects the rider from the wave on the way back out.
For the mechanics of speed and body position in bodysurfing without a handboard, read How Movement Creates Speed in the Water. To understand how lift, trim, and control work across different handboard sizes and conditions, read Bodysurfing Handboard Guide - Size, Shape, and How to Choose.
Explore the full POD Bodysurfing Handboards range - from the classic solid polypropylene boards through to the cedar and walnut Hand Body Soul® range and the polyurethane WOW 13".
Earlier in this series, read How to Body Surf Like A Pro: With Or Without A Handplane.
Share:
Swim Fin Fit and Comfort - Keeping Your Fins On and Lasting